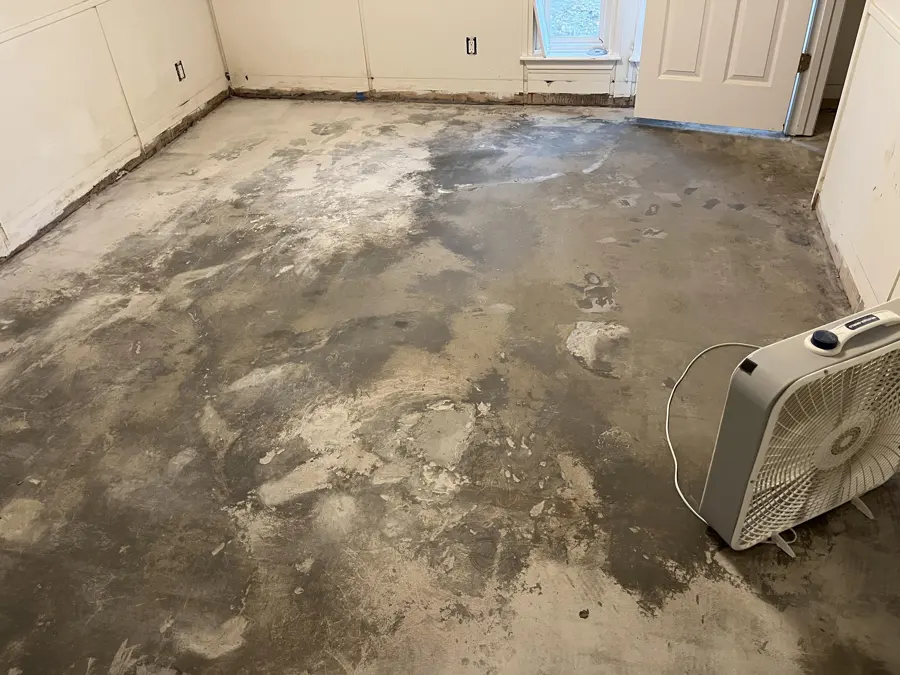
Warm flooring, a new water sound, or unexplained dampness can lead to a plumbing investigation beneath a floor. Once a professional identifies and stops a failed supply component, the restoration question becomes wider: where did the released water travel? A San Dimas slab leak response uses systematic moisture mapping to find affected finishes beyond the repair opening. The map guides extraction, selective access, equipment placement, and the readings used to close the drying phase.
Separate source detection from damage mapping
A plumber locates and repairs the failed water component. That finding identifies why water escaped, but it may not show the full area absorbed by flooring, underlayment, wallboard, or cabinets. Restoration mapping starts at the source and follows changes through the building materials.
Water beneath a finished floor can spread along small gaps and emerge away from the original failure. It may also wick into a wall edge or cabinet base. The first visible patch should therefore be treated as one clue among several, not as a complete boundary.
The community lies in the San Gabriel Valley foothills, with West San Dimas, Via Verde, and Cinnamon Creek among its neighborhoods and water features. The crew identifies the foundation, exposed piping, and floor layers at the affected property, then records how those assemblies direct access and moisture testing.
- Record the confirmed plumbing source and shutoff time
- Photograph the repair access before restoration changes it
- Identify each flooring and wall material in the area
- Establish dry comparison locations away from the loss
Create a repeatable reading grid
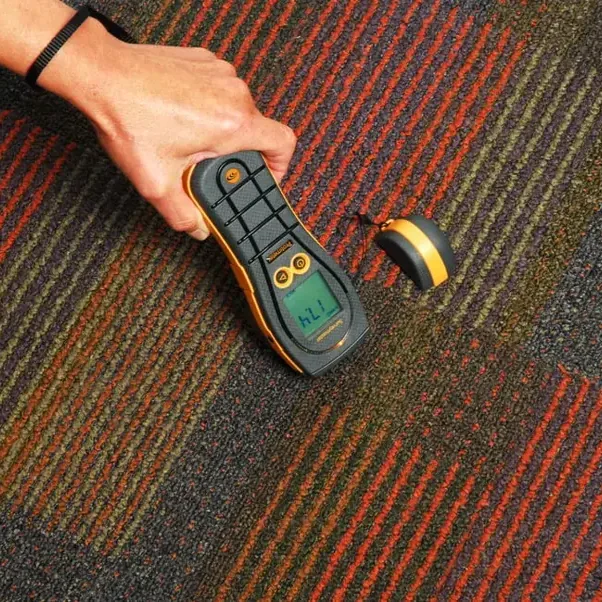
A useful moisture map makes later readings comparable. Technicians mark locations along the suspected path, at room transitions, and around the edges of built-ins. They use the same points during follow-up visits so a change reflects material response rather than a different testing spot.
Different materials produce different meter responses. Tile over a setting bed, wood products, wallboard, and solid framing should not be compared as though one number means the same thing for all of them. Dry references of matching material provide the practical baseline.
The map should include accessible rooms on both sides of a wet wall and any lower area that water could reach. A doorway can conceal a wider path beneath continuous flooring. Closets and cabinet toe kicks are easy to overlook because they may show little surface staining.
Decide where extraction can help
If free water remains above or below a finish, mechanical removal reduces the load before drying. The extraction method depends on access, the flooring assembly, and whether the material remains physically sound. A crew may work from an exposed edge, a repair opening, or another controlled access point.
Water trapped under a low-permeance surface cannot always escape efficiently into room air. Readings that remain high can justify additional access, but unnecessary demolition should not replace investigation. Each opening should have a stated purpose tied to the map.
The water damage cost calculator helps frame the number of affected spaces and types of finishes. It cannot see hidden layers. An on-site assessment determines how far water moved and which extraction or access method fits the assembly.
- Remove accessible liquid before relying on evaporation
- Protect dry flooring along equipment paths
- Open only where evidence supports access
- Update the map when concealed water is discovered
Check walls and fixed cabinets
Supply water at floor level can wick into wallboard, baseboard, and wood cabinet parts. The lower portion may be wet even when the wall face above it appears unchanged. Readings along the base reveal whether the floor problem has become a wall problem.
Cabinets create enclosed pockets with limited air exchange. Toe-kick panels, end panels, and the floor beneath a cabinet deserve separate checks. If access is poor, the team may use a small controlled opening or coordinate component removal with the appropriate trade.
Electrical components near wet walls require caution. Equipment cords and temporary power should remain outside unsafe wet areas. Any concern involving an outlet, appliance connection, or energized assembly belongs with a qualified electrical professional before drying proceeds nearby.
Design airflow for the mapped boundary
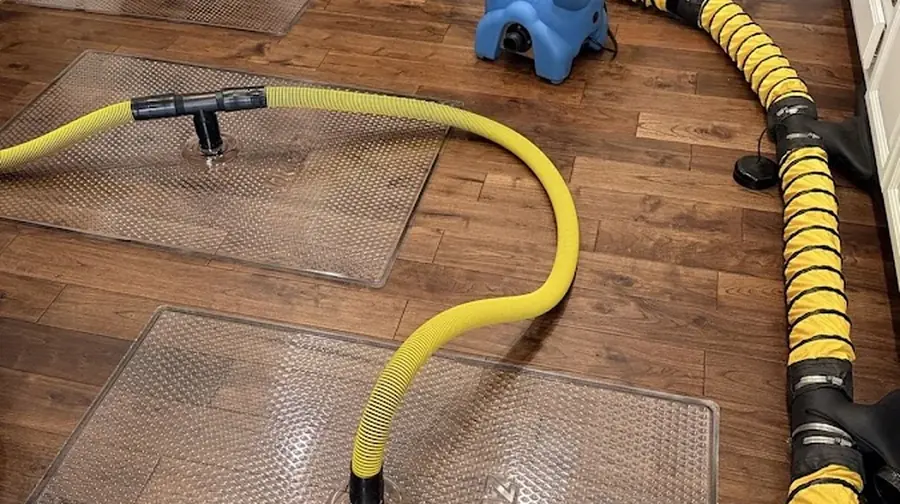
Air movers should deliver useful flow across wet surfaces without scattering dust from a repair opening. Dehumidification removes the vapor released by those materials. The enclosure, room volume, temperature, and amount of damp material influence how the system performs.
A large open room may need zoning so equipment serves the actual loss rather than conditioning unrelated space. Doors, temporary barriers, and controlled openings can shape that zone. The team checks that air reaches wall bases, flooring edges, and other mapped locations.
Golden State Water Company serves the area, and San Dimas maintains separate sanitary sewer and storm drain systems. For a concealed supply release, the plumbing findings identify the indoor source. The mitigation record then follows water beneath finishes and into wall bases, keeping each affected material linked to its reading location and repair access.
- Aim airflow at wet surfaces identified on the map
- Keep the drying zone reasonably enclosed
- Measure indoor humidity during each visit
- Change equipment when readings show a stalled area
Interpret daily changes carefully
Drying rarely moves at one uniform rate. Exposed wallboard may improve quickly while a layered floor remains elevated. The record should show those differences and explain any adjustment in access, airflow, or dehumidification.
A reading that stops changing deserves investigation rather than an automatic extension of the same setup. The cause may be trapped water, poor circulation, a dense assembly, or continuing leakage. Confirming that the source remains off is part of that assessment.
Owners can explore related local response options from the San Dimas home page or check surrounding coverage on the service area. The project itself ends on building evidence: stable readings, corrected source, and a documented final condition.
Close the loss with a clear record
The final moisture map should be understandable to someone who did not watch the work. It identifies the original source area, the outer wet boundary, access points, removed materials, equipment zones, and final readings. Photographs should correspond to those stages.
Repair planning follows after wet materials are stabilized and any required removal is complete. The restoration team should distinguish drying work from plumbing repair and finish replacement. This keeps each decision connected to the professional responsible for it.
A February 2025 Southern California storm led to evacuation orders for five San Dimas homes, but that event should not be used to explain an unrelated indoor supply leak. Accurate records keep causes separate. For a slab-related loss, the decisive evidence comes from the repaired plumbing and the measured path through the building.
- Preserve the first and final reading sets
- Label photographs by room and direction
- List every controlled opening
- Confirm the mapped materials reached the project endpoint
Questions
Does locating the pipe failure locate all wet materials?
No. Plumbing detection finds the source, while moisture mapping follows water into flooring, walls, cabinets, and adjoining rooms.
Why are dry reference readings needed?
They show how similar unaffected material responds and provide a more useful comparison than one universal meter number.
Can flooring be dry on top and wet below?
Yes. Layered assemblies can hold water beneath a surface that looks or feels dry, which is why edges and transitions are tested.
What belongs in the final moisture record?
It should include mapped locations, source control, access decisions, equipment changes, progress readings, photographs, and final conditions.