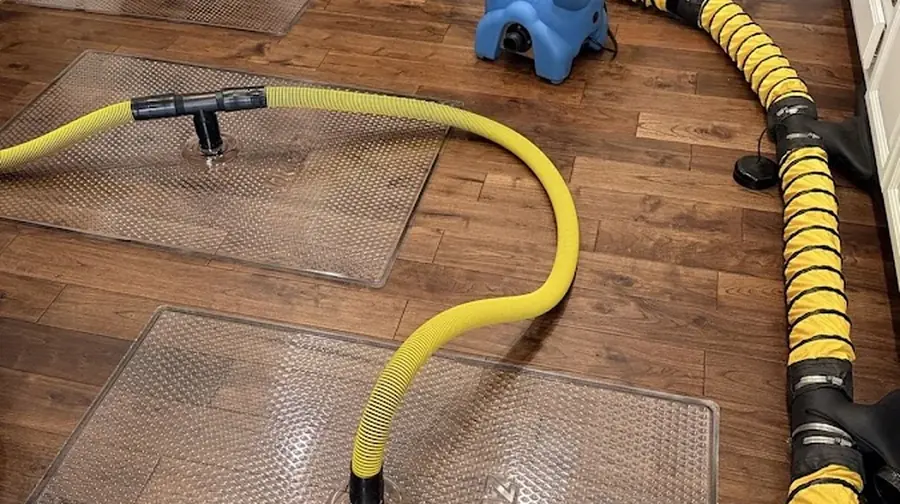
A room near Arrow Highway can look ready while moisture remains beneath a floor seam or behind a wall base. Buildings along Bonnie Cove Avenue, near Walnut Creek, and by the South Hills edge require different access, yet the decision to stop equipment always rests on material evidence. Charter Oak restoration services show where drying follows extraction.
Create repeatable material points
The first map names room, material, and exact measurement position. A suitable unaffected comparison is selected when available. Photographs let each visit return to the same spot after equipment moves or a finish is opened.
- Floor transitions receive separate labels.
- Wall bases and cabinet panels are not averaged together.
- Rooms below the source have independent maps.
- Verify thermal patterns with direct moisture readings.
- Newly exposed layers join the existing record.
Open blocked evaporation paths
Air movement cannot dry a material hidden behind an impermeable finish or saturated insulation. Limited access may be needed. The team starts with the smallest supported opening and expands only when a concealed layer remains wet.
Sandy soil history does not dictate indoor drying. The material map comes from the building, not from a communitywide foundation or construction claim.
Balance surface evaporation with vapor collection
Air movers encourage exposed materials to release moisture, while dehumidifiers remove vapor from the chamber. Random airflow can bypass closed cavities or disturb debris. Placement follows exposed area, material load, water category, and room conditions.
- Unclean sewage or storm debris receives no drying airflow.
- Cabinet voids and corners get targeted circulation.
- Doors and openings preserve the intended chamber.
- Every equipment change enters the daily log.
- Water extraction resumes when accessible liquid appears.
Reduce equipment from stable trends
A falling sequence shows progress. A flat point may indicate poor access, insulation, a sealed finish, or another source. The setup changes around that assembly rather than waiting on appearance.
- Wood, wallboard, concrete, and flooring are interpreted separately.
- Final readings reuse the original labels.
- Photographs show exposed materials before cover.
- Inaccessible zones remain listed.
- Mitigation completion stays separate from reconstruction.
Instrument contact and surface context matter. Paint, fasteners, temperature, and coatings can affect results, so an outlying point is checked again instead of being averaged away. When one unit of equipment leaves, the next visit confirms completed areas remain stable under the changed airflow pattern.
The final file links every zone to its selected comparison, last readings, access work, equipment history, and pending repairs.
Drying chambers are checked for unintended air exchange. An open exterior door, unplanned HVAC change, or moved barrier can alter humidity without changing the moisture held by the material. The daily note captures those conditions so the team does not mistake a room air shift for structural progress.
Material behavior also determines the order of equipment reduction. Faster wallboard may reach its goal before a cabinet panel or floor edge. The crew can remove or reposition equipment in stages, then confirm that the remaining setup still supports the slower assembly. The final visit checks that released zones did not rebound.
The chamber is also observed after hoses, cords, and temporary barriers move. These changes can alter circulation around a cabinet or wall corner. A short verification period confirms the remaining equipment still reaches the slowest material and that a released zone does not rise after isolation changes.
The closeout states which zone finished last and why.
The final chamber condition is photographed before barriers leave.
Final zone photographs preserve that condition for repair.